


1. To make the pages, take a normal sized piece of paper (like the kind that you use in a printer).

2. Fold it in half.

3. Fold it in half the other way.

4. Fold the two ends of the paper inwards so that you are left with 8 rectangles on your paper.


5. Fold the paper in half and cut down the center line so that when you open it up again, there is a cut slit along the center that only goes along the two center rectangles.

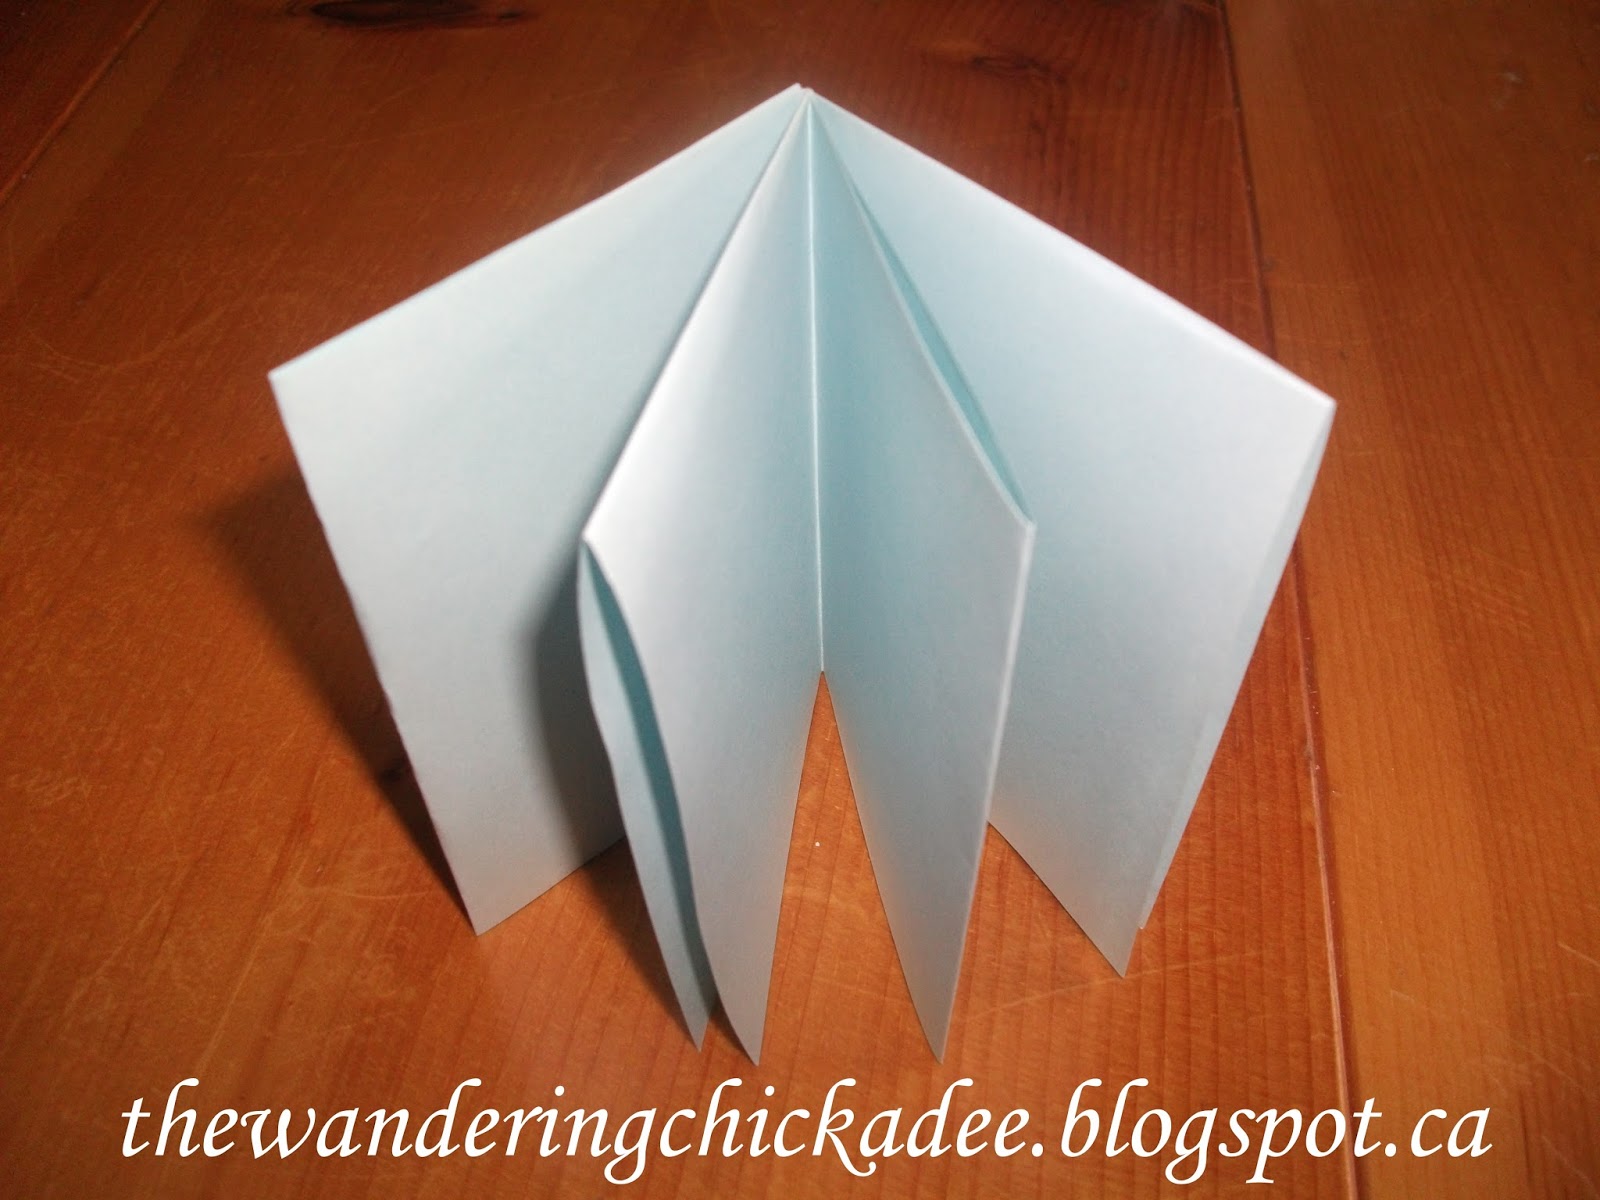
6. Fold along the folds of the paper so that the slit in the paper creates an open diamond shaped hole.

7. Push the two sides of the diamond together to create four rectangles.
8. Arrange the rectangles into a booklet shape by making them all face in the same direction.


9. To make the cover, take a piece of card stock paper and trace your open booklet of pages on the card stock paper.

10. Cut out your rectangle.

11. Fold the cover in half and insert your booklet of pages.


13. Make sure everything is aligned and open the booklet to the very center. There should be two rectangles on both sides when you open it up to the center. With a needle and thread (choose a colour that works best with the colours of your diary), sew right down the center. Make sure that the tail of the thread on both ends is inside the diary so that it isn't noticeable on the outside.
In the first image, you can see what the sewing looks like on the inside and in the second image, you can see what the sewing look likes down the spine on the outside.

Your mini travel diary is complete!
You can decorate the outside and inside in any way that you like! You can also use any colours of paper that you like! This diary can fit 8 days so if you like more, follow steps 1-8 to make extra pages and, before you sew the diary together, open both booklets of pages to the very center and lay one booklet on top of the other and then continue through the rest of the steps of sewing. If your trip is less than 8 days, you can put your trip schedule on the first page, reflect on your trip on the last page, etc. Be as creative as you like with this project!
Enjoy recording the memories of your trips!
-Kaylie
No comments:
Post a Comment
All comments are moderated.